Ultimate Red Velvet Cake Recipe with Cream Cheese Frosting
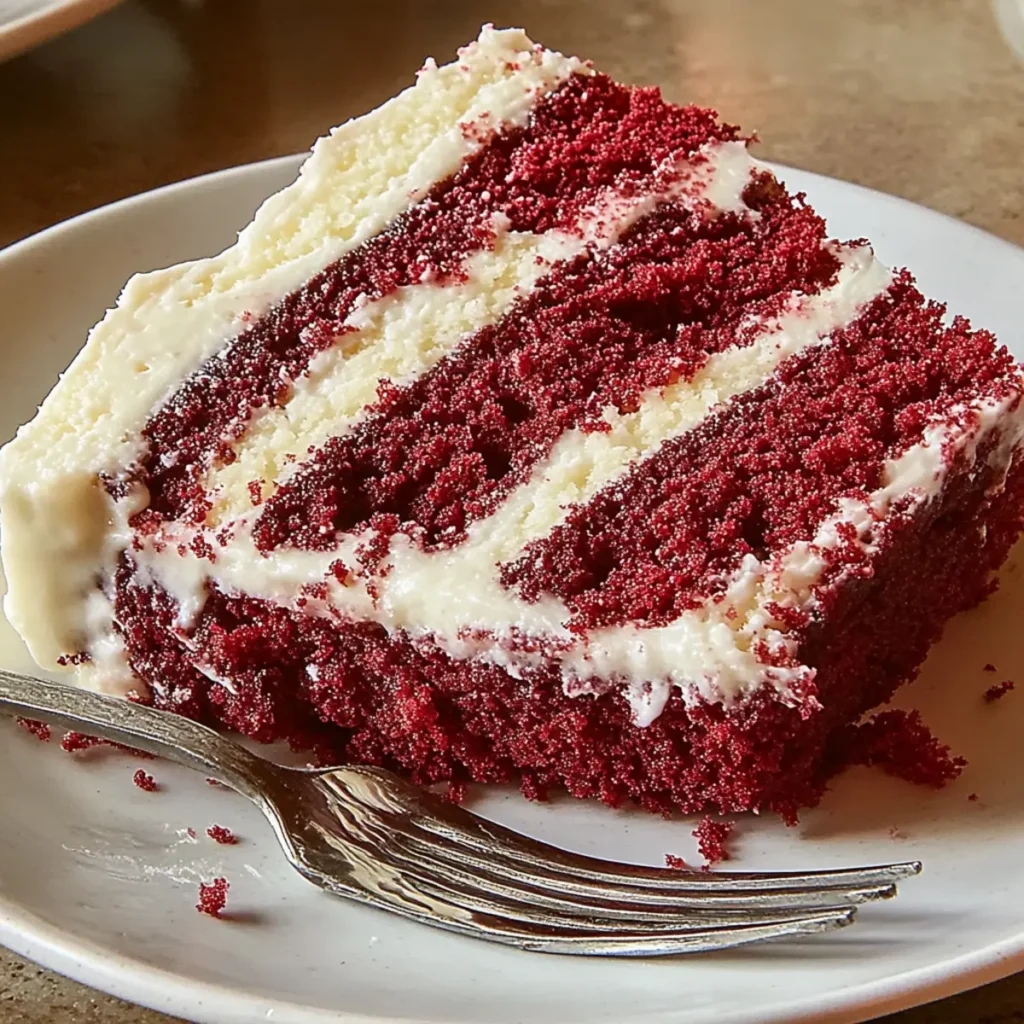
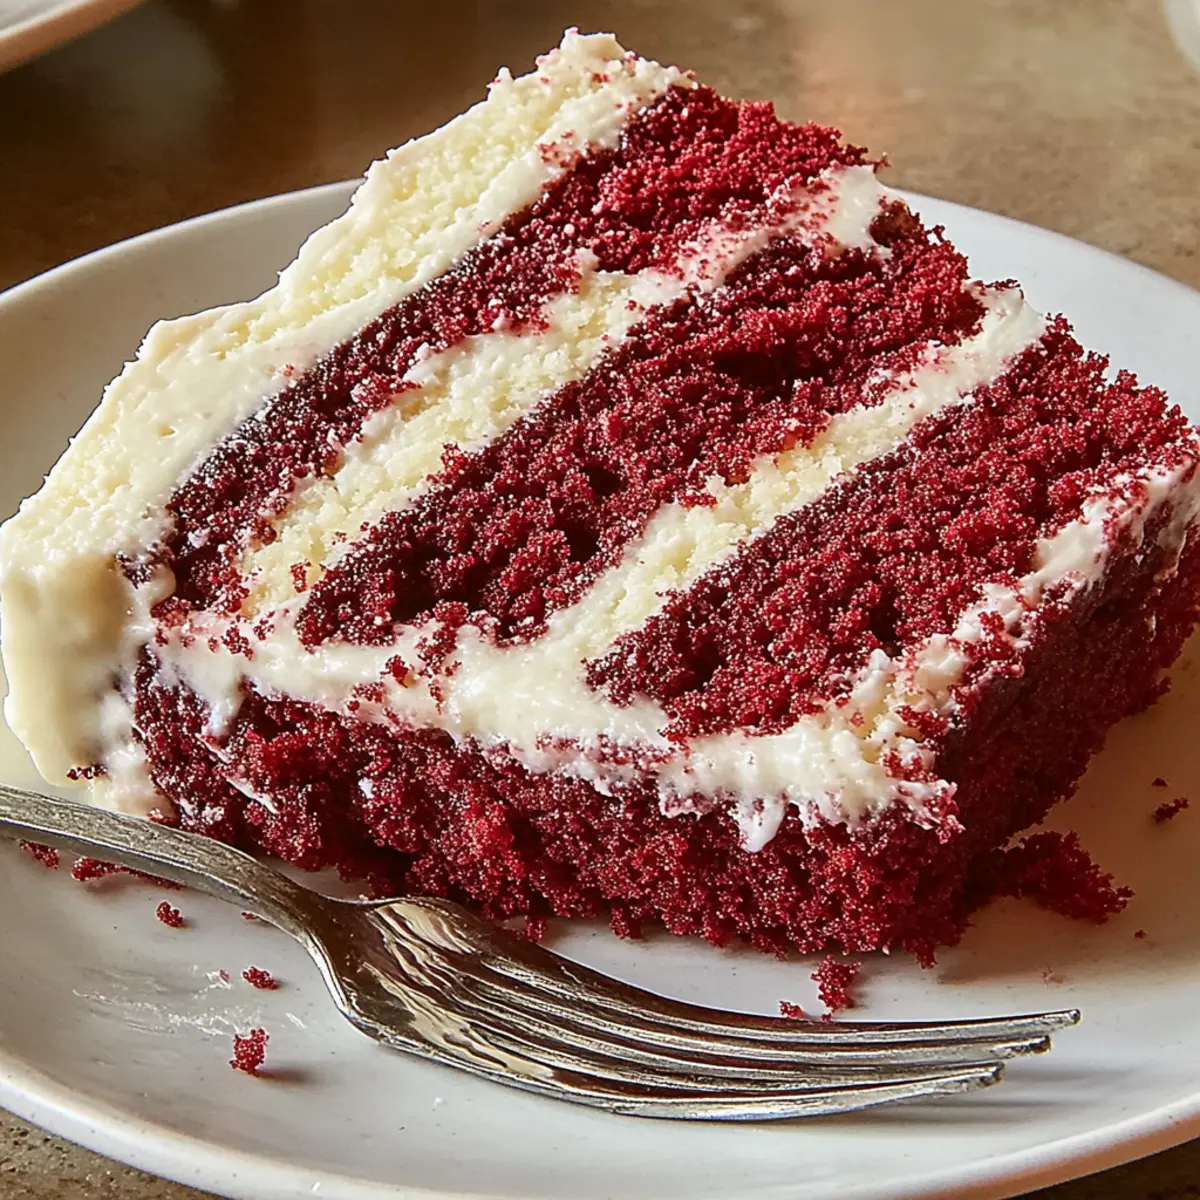
Red Velvet Cake is that delightful dessert that can make even the grumpiest of cakes come to life. Picture a luscious, velvety slice adorned in its distinctive crimson hue, topped generously with a dollop of cream cheese frosting—pure heaven on a plate. The moment you cut into it, the aroma wafts through the air, an inviting blend of sweetness with a hint of cocoa that keeps you coming back for more. Each bite is a soft, moist explosion of flavor that dances on your taste buds, while the cream cheese frosting adds that dreamy, tangy finale.
Ah, the memories this cake can conjure. I remember my first encounter with red velvet cake at a birthday party; I was a mere child with cake crumbs on my face and frosting smeared across my nose, utterly mesmerized by its beauty. It instantly turned that simple celebration into an unforgettable event echoing with laughter, joy, and sugar-induced giddiness. It’s no wonder this cake has become a staple for festivities, from birthdays to anniversaries—any occasion becomes more special when a red velvet cake is present.
Why You'll Love This Red Velvet Cake
This incredible Red Velvet Cake transforms simple everyday ingredients into restaurant-quality flavors that will blow your mind completely.
Foolproof recipe techniques guarantee perfect results every single time, making even novice cooks feel like professional chefs instantly.
Stunning visual appeal with gorgeous colors and mouthwatering aromas creates the ultimate Instagram-worthy dish for any special occasion.
Endlessly adaptable for different dietary needs while working beautifully for meal prep, date nights, or entertaining large groups effortlessly.
Ingredients for Red Velvet Cake
Here's what you'll need to make this delicious Red Velvet Cake:
2 ½ cups all-purpose flour – Make sure it’s sifted to aerate and avoid clumps for a fluffy texture. 1 ½ cups granulated sugar – Sweetness is key, get that granulated sugar fine and ready to make magic. 1 teaspoon baking soda – This is your leavening agent that gives the cake its rise, so don’t skip! 1 teaspoon salt – A tad of salt enhances all those sweet flavors perfectly. 1 cup vegetable oil – Provides moisture, leading to that melt-in-your-mouth lusciousness. 1 cup buttermilk – Helps achieve that tender crumb and gives the cake a slight tang. 2 large eggs – These bring everything together and help the cake set while baking. 2 tablespoon unsweetened cocoa powder – Just a touch to add depth to these brilliant flavors. 1 oz red food coloring (gel) – Essential for that wow factor, but don’t overdo it! 2 teaspoon vanilla extract – Vanilla rounds out the flavor, offering an aromatic background. Cream cheese frosting – The icing on the cake, quite literally—needed for an addictive finish.
How to Make Red Velvet Cake
Follow these simple steps to prepare this delicious Red Velvet Cake:
Step 1: Preheat the Oven and Prepare the Pans
Preheat your oven to 350°F (175°C). While the oven warms up, grab your two round baking pans, grease them well—trust me, you don’t want your beautiful cakes to stick to the bottom.
Step 2: Mix the Dry Ingredients
In a large mixing bowl, whisk together the flour, baking soda, cocoa powder, and salt. This step is crucial! The dry ingredients need to be well-mixed to ensure even baking and that delightful taste in every bite.
Step 3: Blend the Wet Ingredients
In another bowl, combine the sugar and vegetable oil, mixing until smooth and creamy. Add the eggs one at a time, blending after each addition. Next, stir in the buttermilk, red food coloring, and vanilla extract until fully combined. The color should be vibrant—don’t be shy with that red food coloring!
Step 4: Combine Dry and Wet Mixtures
Gradually fold the dry ingredients into the wet mixture. Be careful not to overmix; it’s okay if a few streaks remain, as this keeps the cake light and airy.
Step 5: Bake the Cake
Divide the batter equally between the prepared pans. Slide those beauties into the preheated oven and bake for 25-30 minutes. You can check for doneness by inserting a toothpick into the center; if it comes out clean, you’re ready to go!
Step 6: Cool and Frost
Once baked, allow your cakes to cool in the pans for about 10 minutes before transferring them to a wire rack to cool completely. After they’re cool, it’s time to unleash that cream cheese frosting! Generously spread it on top of one layer, place the second layer on top, and finish frosted with the remaining cream cheese frosting. Your beautiful masterpiece is ready to be sliced!
Now, transfer those slices onto plates and prepare your taste buds for the incredible experience of indulging in this heavenly Red Velvet Cake. Each forkful is bound to bring a smile to your face, and as you savor this delightful creation, I guarantee you’ll be left with nothing but joy and the urge to share this recipe with friends and family. Happy baking!
You Must Know About Red Velvet Cake
This showstopping Red Velvet Cake delivers restaurant-quality results using simple ingredients you probably already have at home.
The perfect balance of textures and flavors creates an unforgettable dining experience that will have everyone asking for seconds.
Picture-perfect presentation with vibrant colors makes this dish absolutely Instagram-worthy and guaranteed to impress any dinner guest.
Incredibly versatile recipe that works beautifully for weeknight dinners, meal prep, special occasions, or even outdoor entertaining sessions.
Perfecting Red Velvet Cake Cooking Process
To achieve the perfect Red Velvet Cake, start by preparing your dry ingredients while your oven preheats. Next, mix your wet ingredients and then gradually combine both mixtures for an evenly blended batter that’ll bake beautifully.
Add Your Touch to Red Velvet Cake
Feel free to customize your Red Velvet Cake by adding a touch of almond extract for a unique flavor twist or swap in whole wheat flour for an extra health kick. You can also experiment with different types of frosting to suit your taste.
Storing & Reheating Red Velvet Cake
Store any leftover Red Velvet Cake in an airtight container at room temperature for up to three days. For longer storage, refrigerate it or freeze slices, ensuring to wrap them in plastic wrap to maintain freshness.
Chef's Helpful Tips for Red Velvet Cake
This professional-quality Red Velvet Cake relies on precise timing and temperature control to achieve restaurant-standard results consistently.
Master the art of mise en place by prepping all ingredients beforehand, ensuring smooth execution and preventing any last-minute cooking disasters.
The secret lies in layering flavors throughout the cooking process rather than seasoning only at the end for maximum depth.
Pro tip: let the finished dish rest for optimal texture and flavor development before serving to hungry guests waiting eagerly.
The first time I baked a Red Velvet Cake, I was a nervous wreck, but the look on my family's faces when they took the first bite was priceless. It instantly became a crowd favorite!
FAQs About Red Velvet Cake
What is Red Velvet Cake?
Red Velvet Cake is a luxurious dessert known for its deep red hue, tender crumb, and subtle cocoa flavor. This classic treat combines all-purpose flour, sugar, vegetable oil, buttermilk, and eggs, resulting in a moist and fluffy cake. Traditionally, it is paired with a creamy cream cheese frosting, which adds a delightful tangy sweetness. Originating in the early 20th century, its striking appearance and rich taste make it a popular choice for celebrations and special occasions.
How does Red Velvet Cake get its color?
The rich red color of Red Velvet Cake traditionally comes from cocoa powder and the interaction of acidic ingredients like vinegar and buttermilk. However, modern recipes often incorporate red food coloring to achieve that signature vibrancy. The amount added can vary, contributing to different shades ranging from a subtle ruby to a bold crimson. This visual appeal is part of what makes Red Velvet Cake so desirable for festive occasions.
Can Red Velvet Cake be made in advance?
Absolutely! Red Velvet Cake can be made in advance; just be sure to store it properly. Once completely cooled, wrap the layers in plastic wrap and place them in the refrigerator for up to three days or freeze them for longer storage. If frozen, allow the layers to thaw in the fridge overnight before frosting. Making it ahead of time can develop the flavors even more, resulting in an even more delicious cake!
What are some popular variations of Red Velvet Cake?
While the classic Red Velvet Cake features cream cheese frosting, there are many delicious variations you can try. Some people enjoy a chocolate cream frosting for added richness or a vanilla buttercream for a sweeter twist. Additionally, you can experiment with layers, adding fillings like raspberry preserves or lemon curd for a zingy contrast. Don't forget about incorporating nuts or even a ganache drizzle for an extra flair!
Conclusion for Red Velvet Cake
In conclusion, Red Velvet Cake offers a delightful combination of visual appeal and rich flavor that captivates both the eyes and palate. This beloved dessert is perfect for any occasion, whether it's a birthday party, holiday gathering, or casual get-together. Its moist texture and tangy cream cheese frosting create an unforgettable experience that will leave everyone wanting more. With the right ingredients and a bit of love, you can master the art of making this stunning Red Velvet Cake in your own kitchen.
Ultimate Red Velvet Cake Recipe with Cream Cheese Frosting
A luxurious Red Velvet Cake with cream cheese frosting that's perfect for any occasion.
At Recipe Blog Tips, we believe that cooking should be fun, simple, and full of flavor. Our recipes are made for everyone, from beginners to seasoned cooks using ingredients you can easily find at home.