How to Make Classic Whoopie Pies: Easy Step-by-Step Recipe
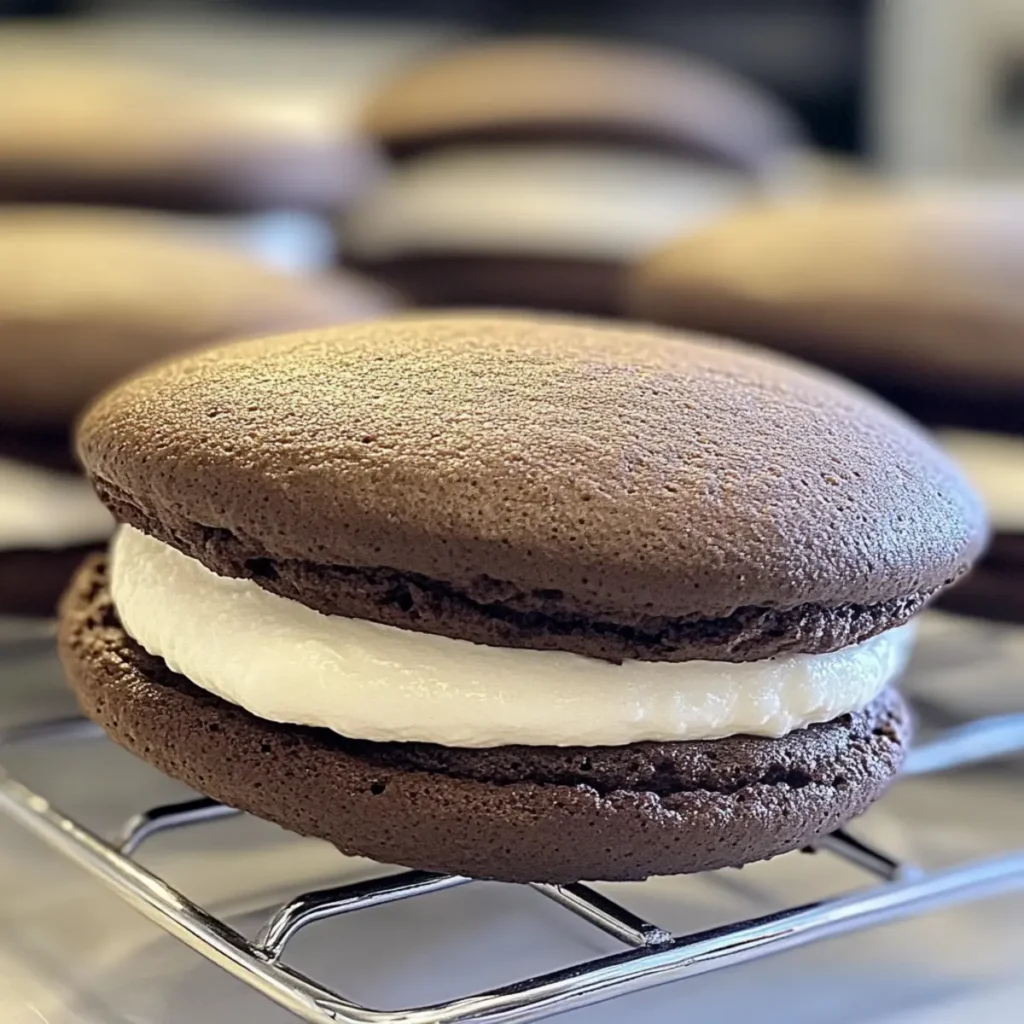
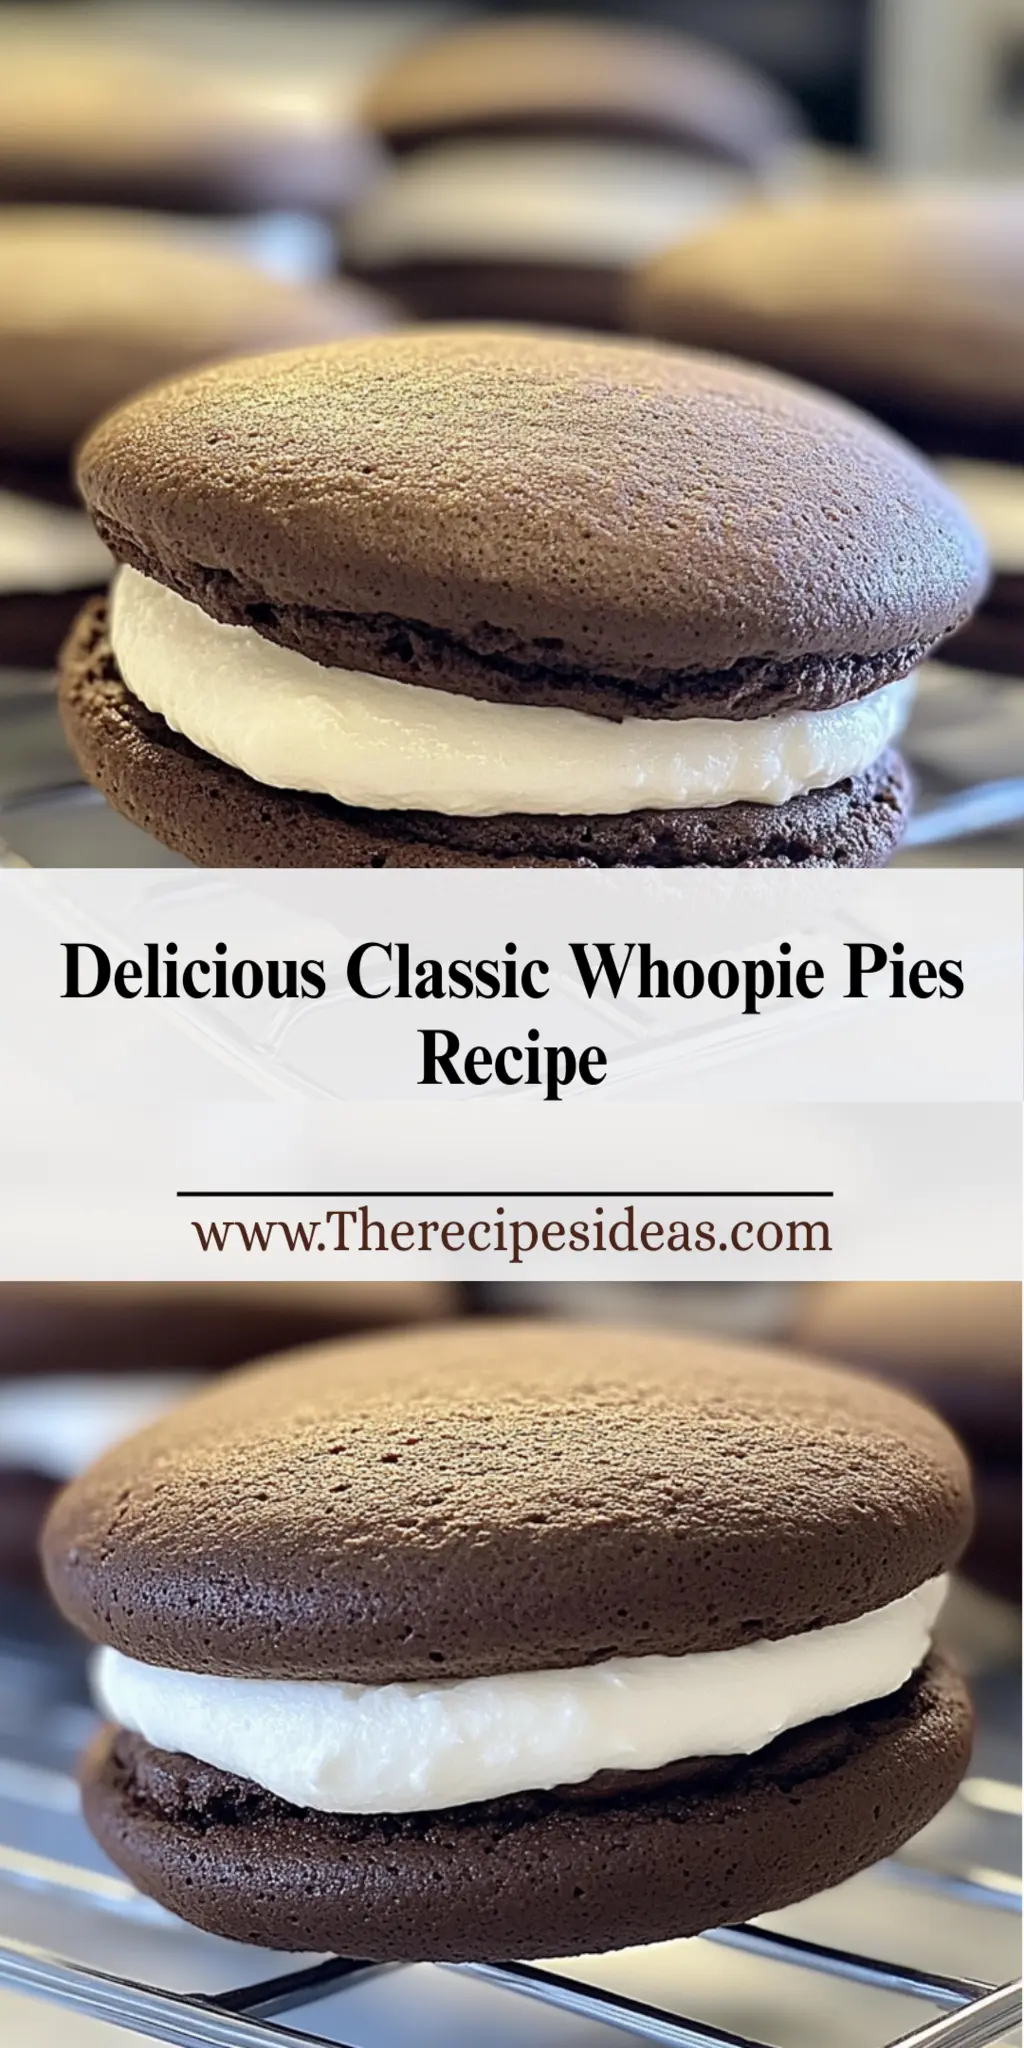
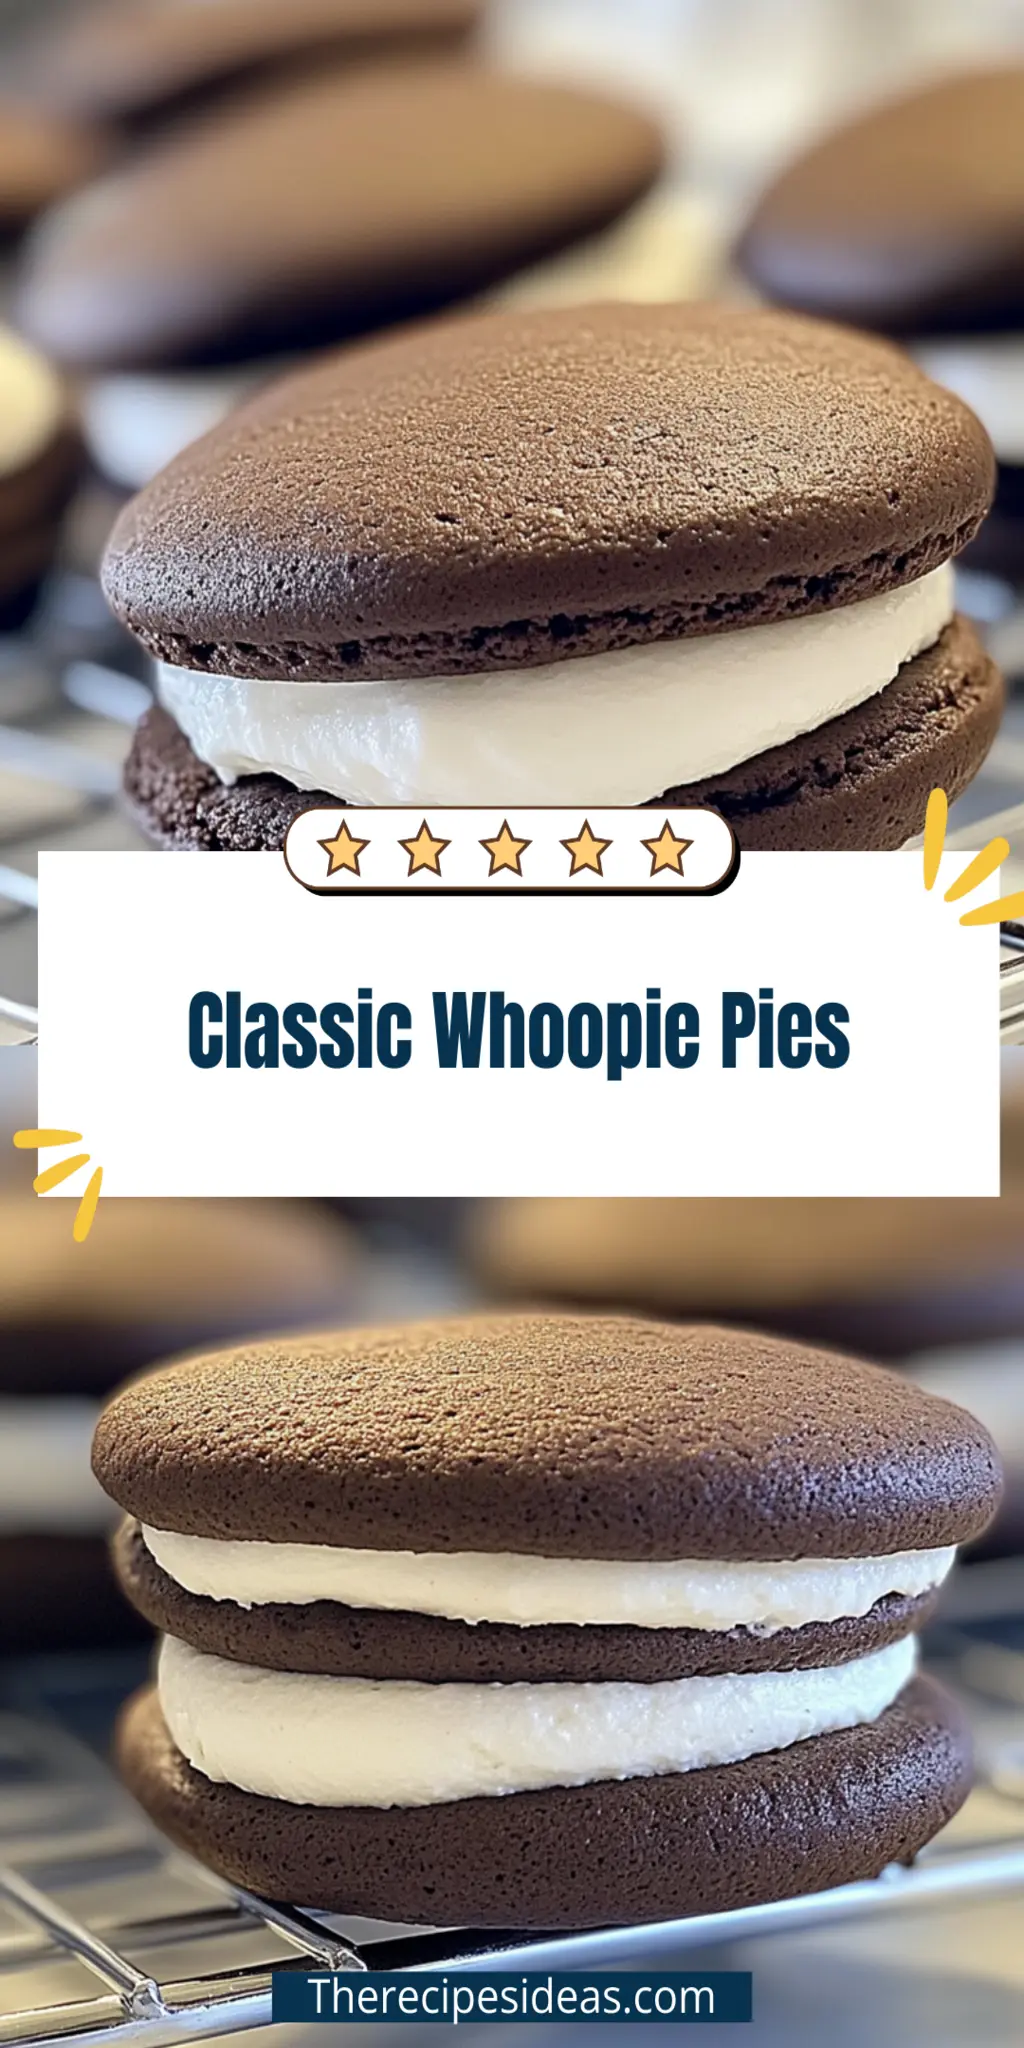
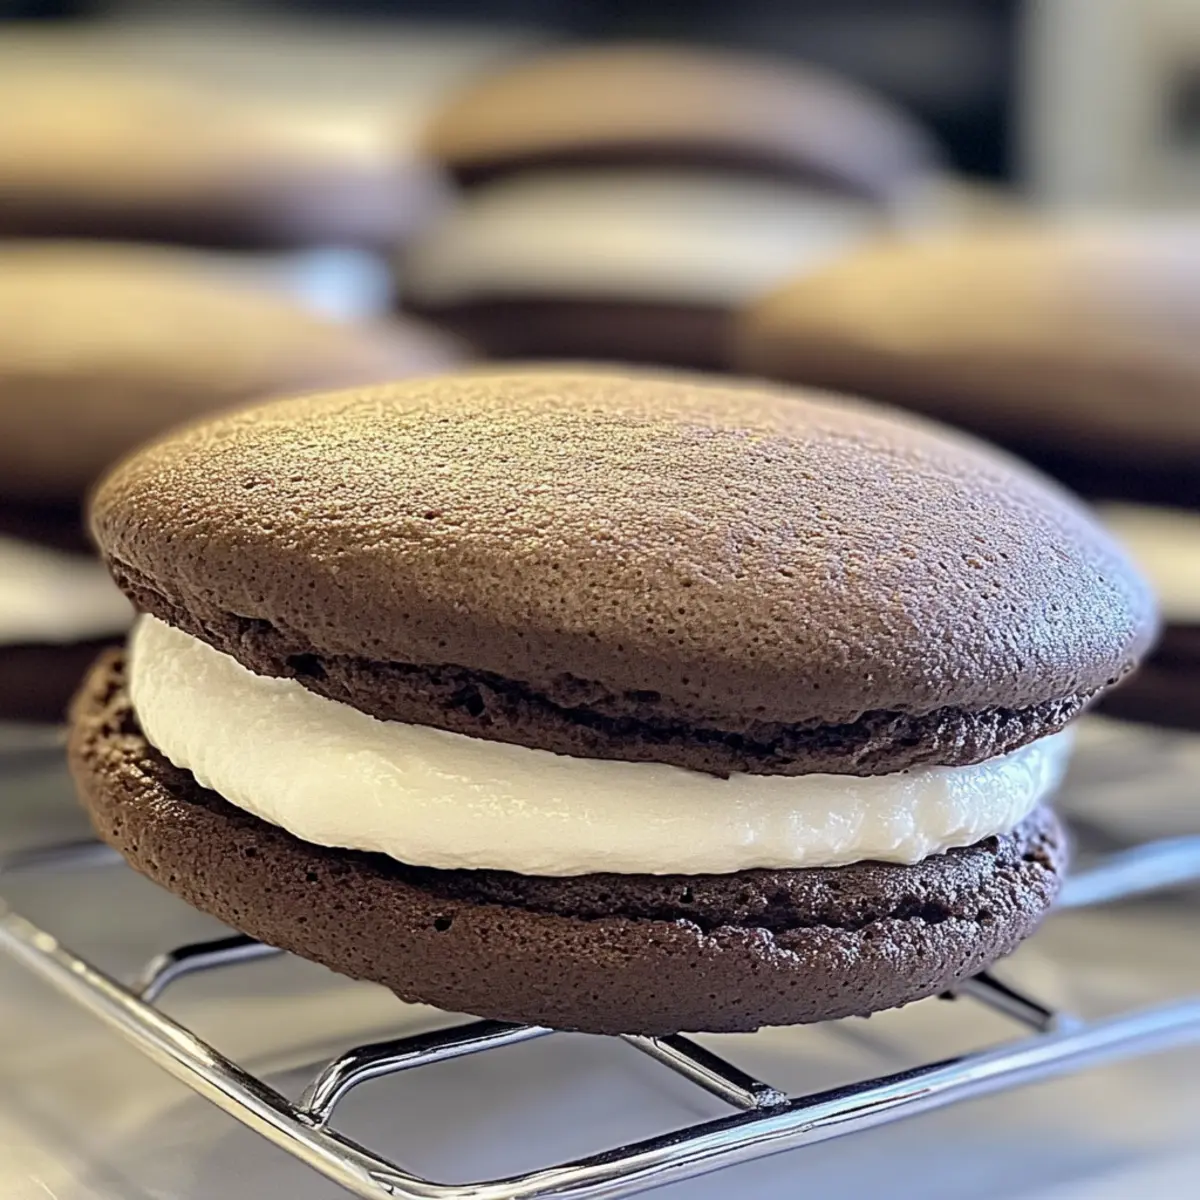
Whoopie pies have a way of transporting you back to simpler times, don’t they? With their soft, cake-like cookies hugging a luscious cream filling, these delightful treats are like a hug in dessert form. Imagine biting into a warm, freshly baked whoopie pie, the sweet chocolatey aroma wafting through the air, making your mouth water in anticipation. As you indulge, the creamy filling oozes out, and you can’t help but smile at the pure joy of it all. These Classic Whoopie Pies are perfect for every occasion, be it a cozy family gathering or an after-school treat that’ll make your kids squeal with delight.
Growing up, I remember my grandmother whipping up batches of these scrumptious delights in her tiny kitchen, filling the air with that unmistakable chocolate scent. We'd gather around her table, tastes of downright deliciousness and laughter intertwining in the air. The memories attached to these whoopie pies make every bite even sweeter, highlighting just how special they are. Whether it’s a birthday party, a holiday celebration, or simply treating yourself on a Tuesday, these Classic Whoopie Pies are sure to bring joy and flavor into the mix.
Why You'll Love This Classic Whoopie Pies
This incredible Classic Whoopie Pies transforms simple everyday ingredients into restaurant-quality flavors that will blow your mind completely.
Foolproof recipe techniques guarantee perfect results every single time, making even novice cooks feel like professional chefs instantly.
Stunning visual appeal with gorgeous colors and mouthwatering aromas creates the ultimate Instagram-worthy dish for any special occasion.
Endlessly adaptable for different dietary needs while working beautifully for meal prep, date nights, or entertaining large groups effortlessly.
Ingredients for Classic Whoopie Pies
Here's what you'll need to make this delicious Classic Whoopie Pies:
1 cup all-purpose flour – A staple in baking, this adds structure to the whoopie pies. Use a good quality flour for the best results. ½ cup unsweetened cocoa powder – This deep, rich cocoa provides that chocolatey goodness we crave. Opt for a Dutch-process cocoa for a smoother flavor. 1 teaspoon baking soda – This leavening agent helps the cookies rise and achieve that perfect texture. ½ cup granulated sugar – Sweetens the batter and balances the cocoa's bitterness. ¼ cup unsalted butter, softened – Adds richness and moisture to the cookies. Make sure it’s at room temperature for easy creaming. 1 large egg – Binds the ingredients together while also providing moisture. Use large eggs for consistency. ¼ cup milk – This adds moisture and loosens the batter for easy scooping. You can substitute with dairy alternatives if needed. 1 teaspoon vanilla extract – Enhances the flavors of your whoopie pies. Always opt for pure vanilla for the best taste. 1 cup powdered sugar – Sweetens the filling and gives it that creamy texture. It's essential for a successful whoopie pie. ½ cup marshmallow fluff – The star of the filling, this adds a nostalgic flavor and delightful texture. ¼ cup unsalted butter, softened – This enriches the filling, adding a velvety smoothness that makes every bite irresistible.
How to Make Classic Whoopie Pies
Follow these simple steps to prepare this delicious Classic Whoopie Pies:
Step 1: Preheat Your Oven
Preheat your oven to 350°F (175°C) and line two baking sheets with parchment paper. This ensures even baking and easy cleanup since we don’t want any sticky regrets.
Step 2: Combine Dry Ingredients
In a medium bowl, whisk together the all-purpose flour, cocoa powder, baking soda, and a pinch of salt. Mixing these dry ingredients first helps to evenly distribute the leavening agent throughout the batter for consistent results.
Step 3: Cream Butter and Sugar
In a large mixing bowl, cream the softened unsalted butter and granulated sugar until light and fluffy, about three to five minutes. Add in the large egg and vanilla extract, mixing until well combined. The key to a great texture lies in this step, so mix it well!
Step 4: Combine Wet and Dry Ingredients
Gradually add the dry mixture to the butter-sugar mixture, alternating with the milk, and mix until just combined. Don’t overmix; we want to keep that tenderness in these cookies.
Step 5: Scoop and Bake
Using a tablespoon or a cookie scoop, drop rounded dollops of the batter onto the prepared baking sheets, leaving space between each for spreading. Bake for about 10 minutes, or until they spring back when touched. Oh, the anticipation of that baking aroma wafting through your kitchen!
Step 6: Prepare the Filling
While the cookies cool on a wire rack, whip together the powdered sugar, marshmallow fluff, and softened butter in a separate bowl until smooth and creamy. This filling is what dreams are made of, trust me!
Once the cookies are cool, spread a generous amount of that heavenly filling between two cookies, sandwiching them together. Take a moment to admire your creation. Serve these delightful Classic Whoopie Pies immediately or store them in an airtight container for a couple of days—if they last that long!
You Must Know About Classic Whoopie Pies
This showstopping Classic Whoopie Pies delivers restaurant-quality results using simple ingredients you probably already have at home.
The perfect balance of textures and flavors creates an unforgettable dining experience that will have everyone asking for seconds.
Picture-perfect presentation with vibrant colors makes this dish absolutely Instagram-worthy and guaranteed to impress any dinner guest.
Incredibly versatile recipe that works beautifully for weeknight dinners, meal prep, special occasions, or even outdoor entertaining sessions.
Perfecting Classic Whoopie Pies Cooking Process
To make your Classic Whoopie Pies shine, start by preparing the filling while the cookies cool. This allows the flavors to meld perfectly. Then, bake your cookies with precision for that soft, springy texture everyone loves.
Add Your Touch to Classic Whoopie Pies
Want to jazz up your Classic Whoopie Pies? Try swapping out the vanilla for mint or almond extract. Adding chocolate chips or chopped nuts to the cookie batter can also elevate your dessert to the next level.
Storing & Reheating Classic Whoopie Pies
Store your Classic Whoopie Pies in an airtight container at room temperature for up to three days. If you need them to last longer, freeze them for up to three months and simply thaw before enjoying.
Chef's Helpful Tips for Classic Whoopie Pies
This professional-quality Classic Whoopie Pies relies on precise timing and temperature control to achieve restaurant-standard results consistently.
Master the art of mise en place by prepping all ingredients beforehand, ensuring smooth execution and preventing any last-minute cooking disasters.
The secret lies in layering flavors throughout the cooking process rather than seasoning only at the end for maximum depth.
Pro tip: let the finished dish rest for optimal texture and flavor development before serving to hungry guests waiting eagerly.
While making these Classic Whoopie Pies, I remember the first time I tried them with friends during a potluck. Everyone raved about how the fluffy filling was like clouds of joy—definitely a hit!
FAQs About Classic Whoopie Pies
What is Classic Whoopie Pies?
Classic Whoopie Pies are delightful sandwich cookies traditionally made from two soft chocolate cakes filled with a creamy, sweet filling. Their origins are often debated, with claims from both Maine and Pennsylvania. These scrumptious treats can also be made with different cake flavors, but the chocolate version remains a fan favorite. The soft texture of the cakes paired with the fluffy filling makes Classic Whoopie Pies a nostalgic dessert that is remarkably easy to make, perfect for any occasion.
How do you store Classic Whoopie Pies?
To store Classic Whoopie Pies, place them in an airtight container at room temperature. They will stay fresh for up to three days, making them an ideal treat for sharing. If you need them to last longer, you can wrap individual pies in plastic wrap and freeze them for up to three months. When you're ready to enjoy, simply thaw the pies at room temperature for a couple of hours before indulging in their sweet goodness.
Can I customize the filling in Classic Whoopie Pies?
Absolutely! One of the best things about Classic Whoopie Pies is their versatility. While the traditional filling is a mix of butter, powdered sugar, and marshmallow fluff, you can customize it to suit your taste. Consider adding flavors like mint or almond extract for a unique twist. You can also incorporate chocolate chips, peanut butter, or even fruit preserves to elevate the filling and impress your guests.
What occasions are perfect for serving Classic Whoopie Pies?
Classic Whoopie Pies are perfect for a variety of occasions! Whether you're hosting a birthday party, attending a potluck, or looking for dessert to bring to a family gathering, these pies are sure to be a hit. Their fun, handheld size makes them great for picnics or outdoor events. Plus, who wouldn't love a homemade treat that combines nostalgia with deliciousness? Serve them at your next gathering, and watch everyone come back for seconds!
Conclusion for Classic Whoopie Pies
In summary, Classic Whoopie Pies are a delightful addition to any dessert table. With their soft chocolate cakes and sweet, fluffy filling, they are sure to impress your friends and family. Easy to make and customize, these treats can adapt to any occasion, making them a versatile option for bakers of all skill levels. Embrace the charm of Classic Whoopie Pies, and enjoy creating joyful memories around this nostalgic dessert. Whether for a special occasion or just a weekday treat, they never fail to bring smiles.
Classic Whoopie Pies
Delight in these Classic Whoopie Pies, a nostalgic dessert with soft chocolate cakes and fluffy filling that captures hearts and taste buds.
At Recipe Blog Tips, we believe that cooking should be fun, simple, and full of flavor. Our recipes are made for everyone, from beginners to seasoned cooks using ingredients you can easily find at home.